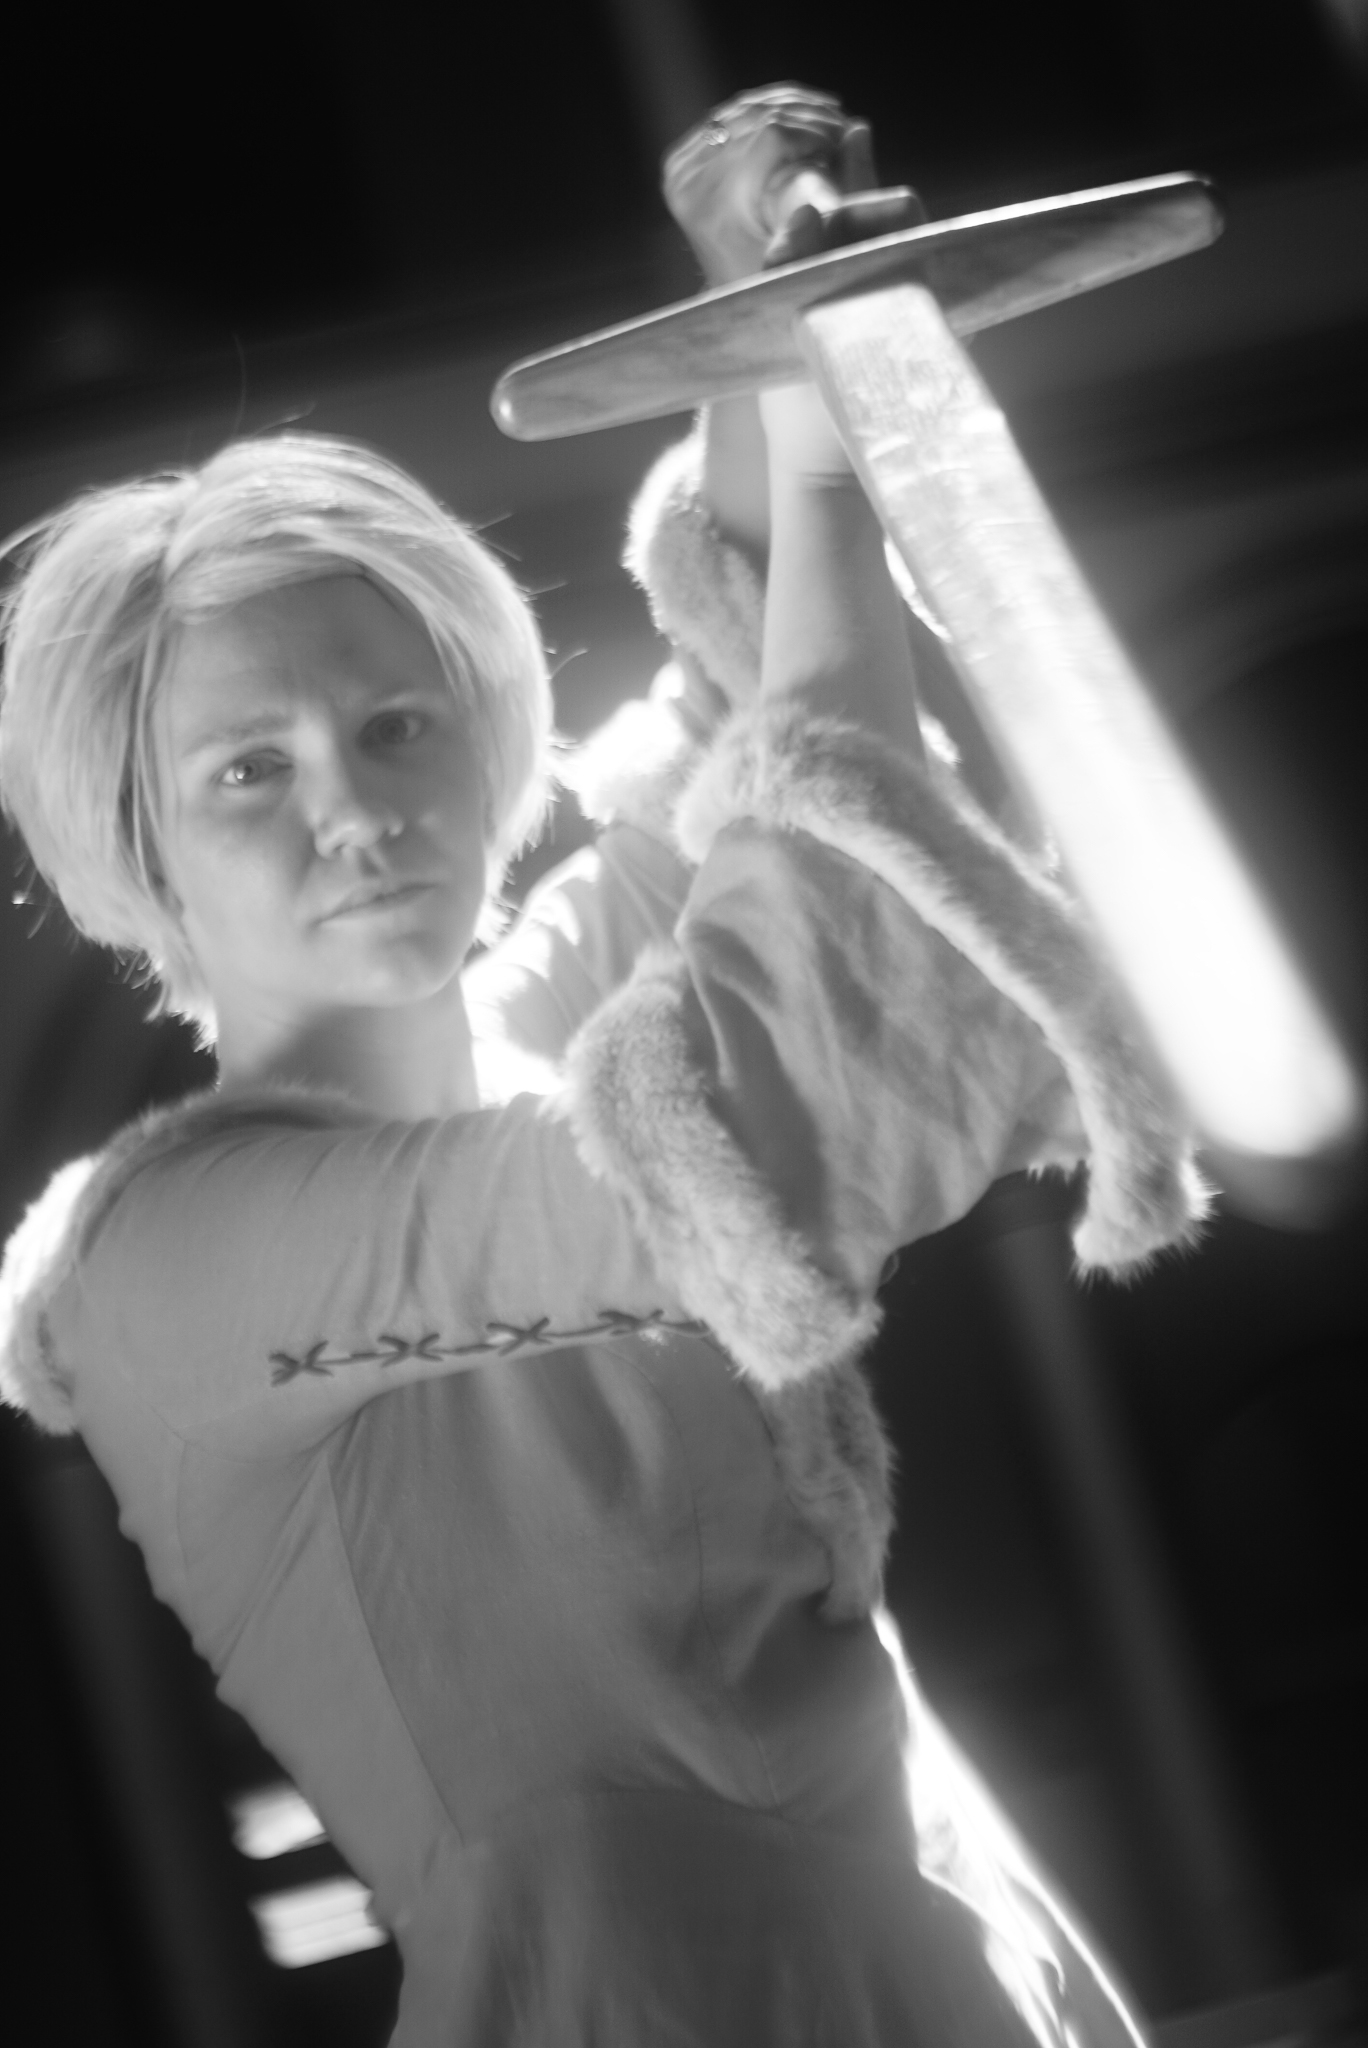
I tend to be a slow cosplayer. I like spending time on my projects, and having a pair of enthusiastically playful preschoolers slows me down too but the DC Cosplay Photo Shoots group announced a Game of Thrones themed shoot only a month in advance and I wanted to attend. It was a good exercise in a Make It Work mentality, and in using some material from my stash instead of buying something new and ‘perfect.’
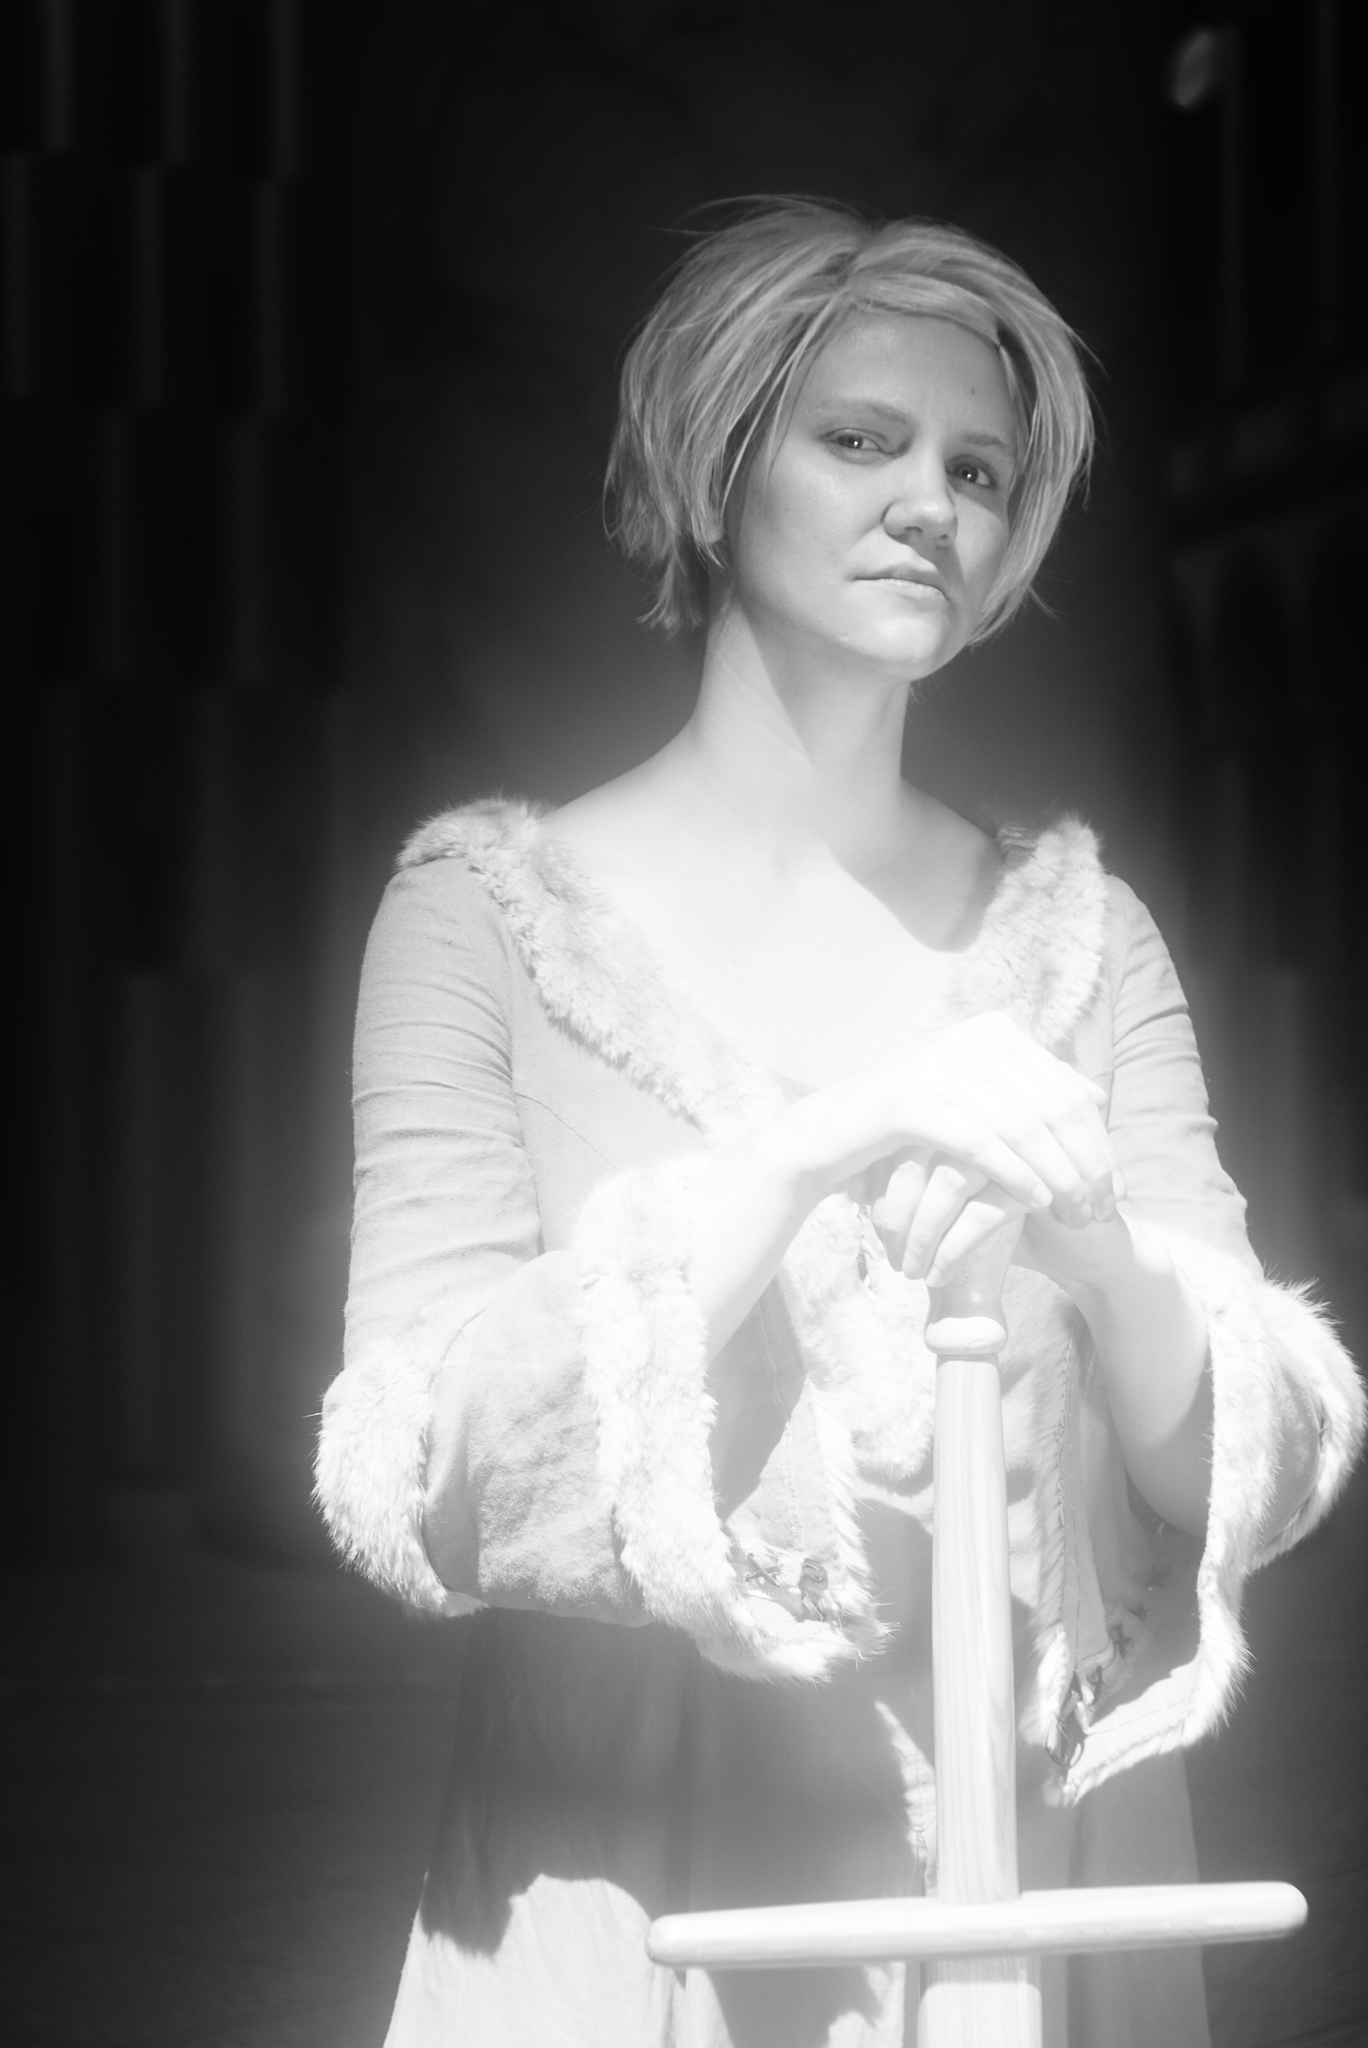
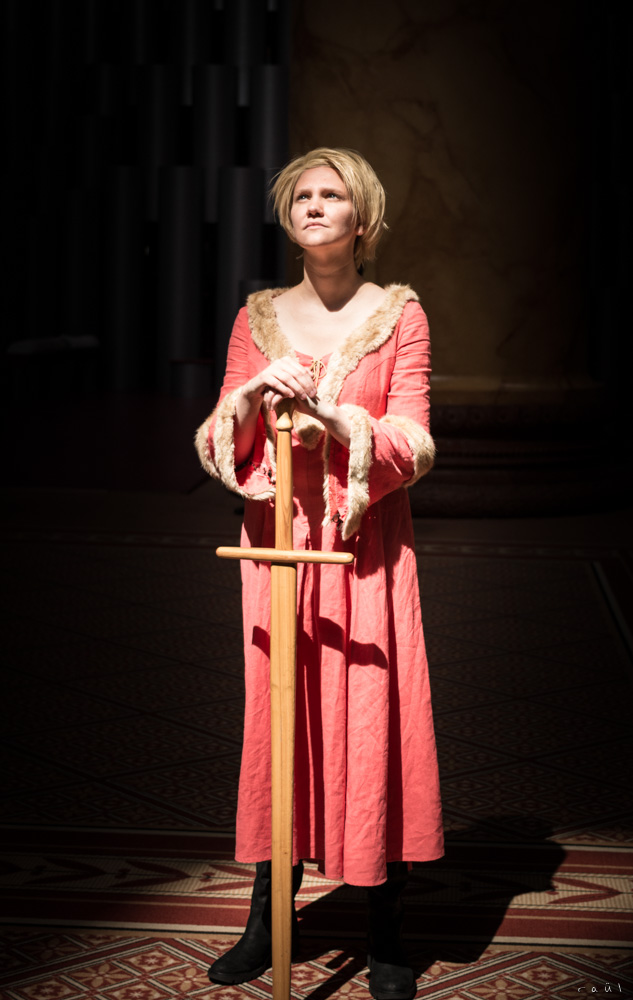
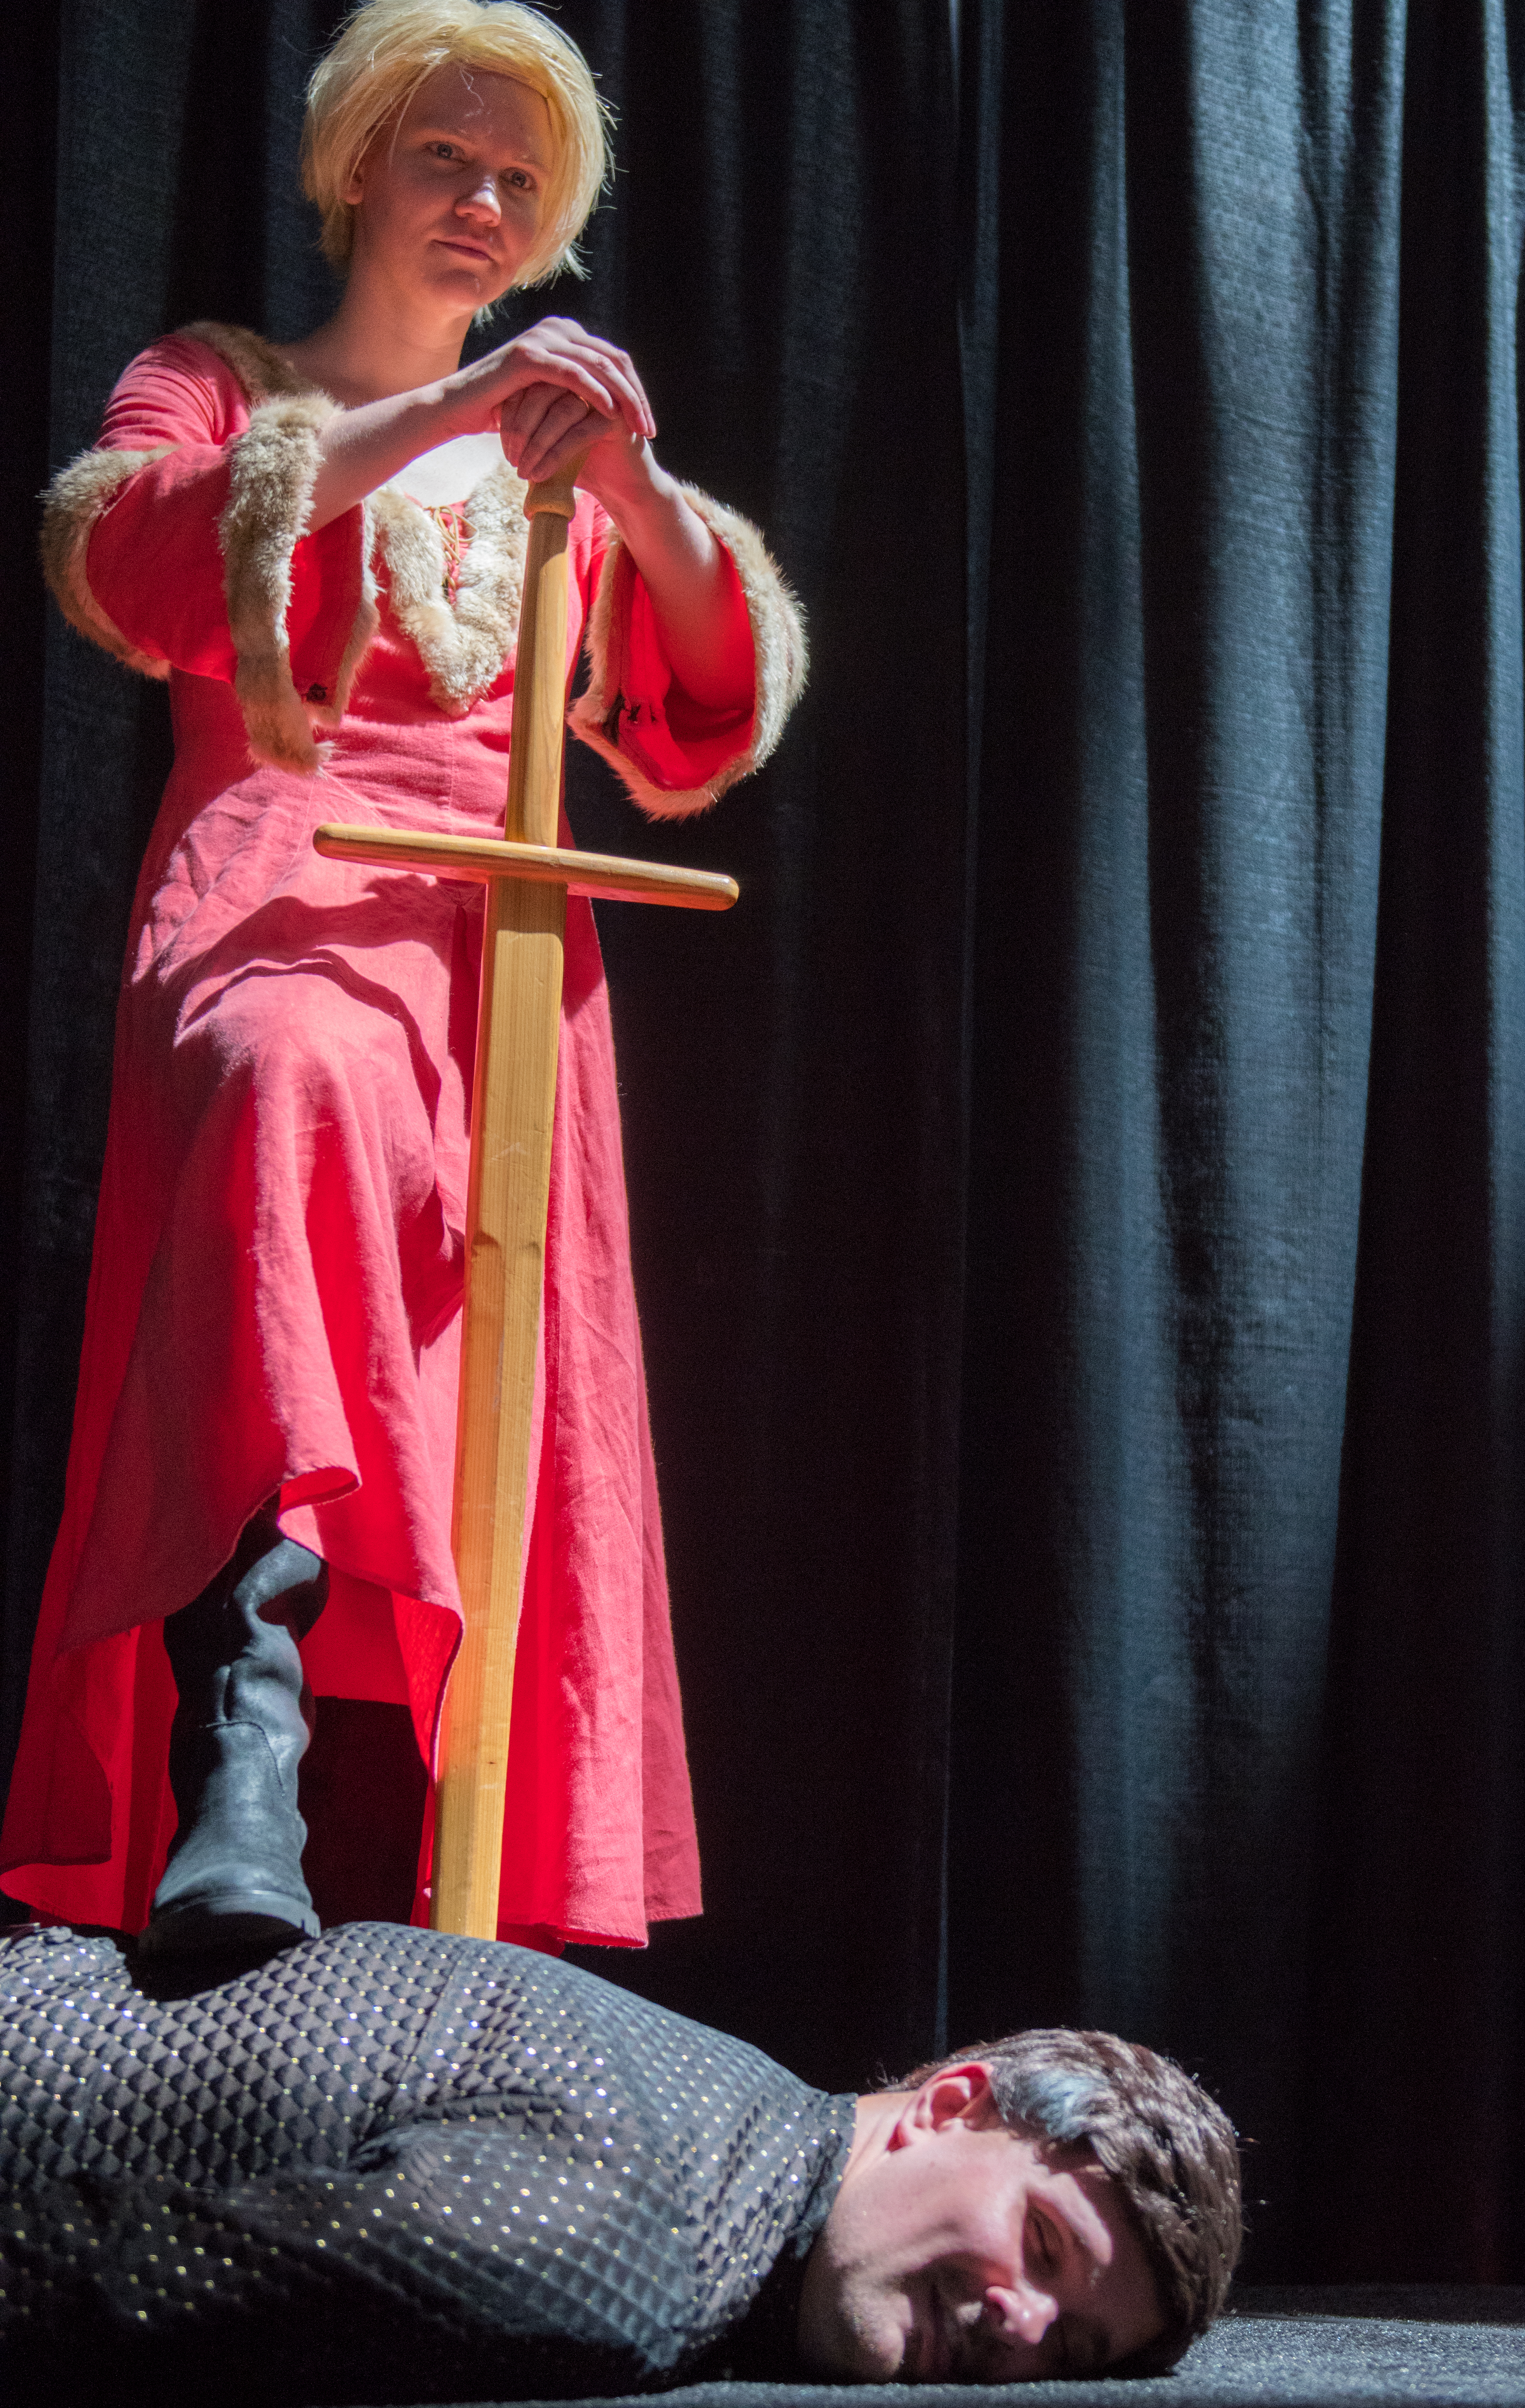
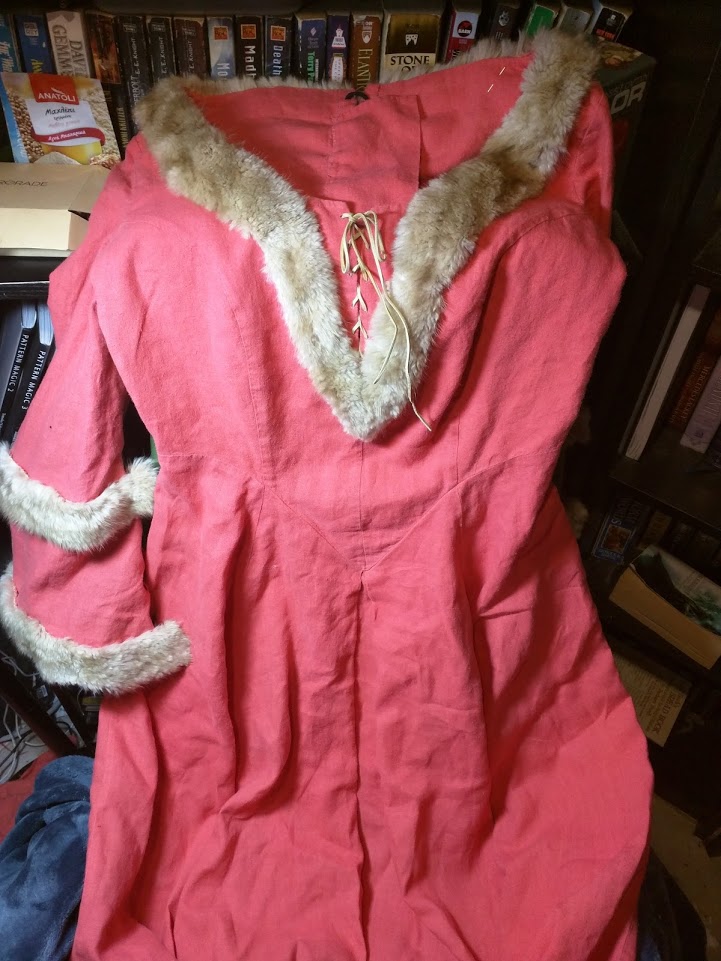
The dress from the show is fur trimmed velvet but I had some hot pink linen I’d purchased just because it was on sale for $7/yard. Hot pink doesn’t exactly fit Brienne of Tarth- even when she actually gets in a dress! so some color adjustments were in order.
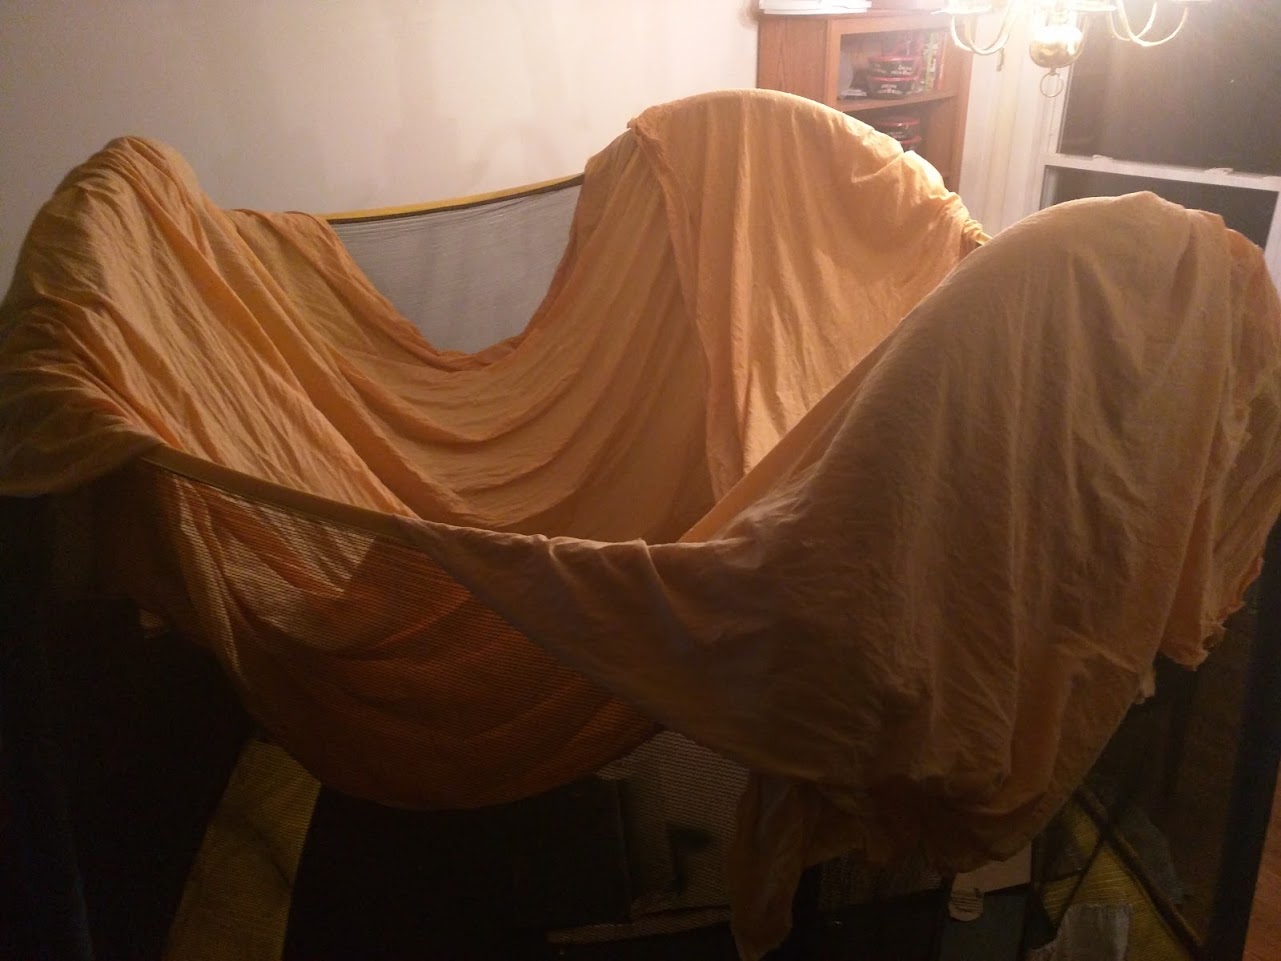
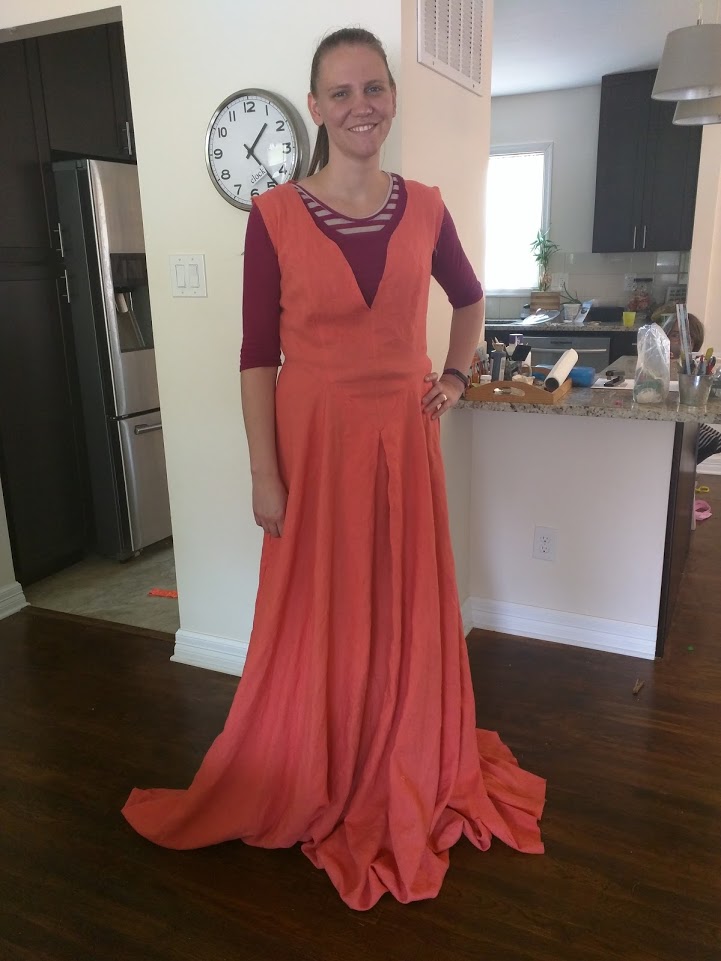
Dye Remover is great stuff and the trampoline that occupies my living room made for a good dying track for the 9ish yards of hot pink that I was playing with here. After the remover the fabric was a lovely buttery yellow with orange undertones.
I was happy with the color it turned into but every time I turned around it appeared a different color depending on the lighting. It was maddening and I wound up overdying it after the dress was sewn with a bit more pink dye just to settle the dress firmly into the pink spectrum at the very least.
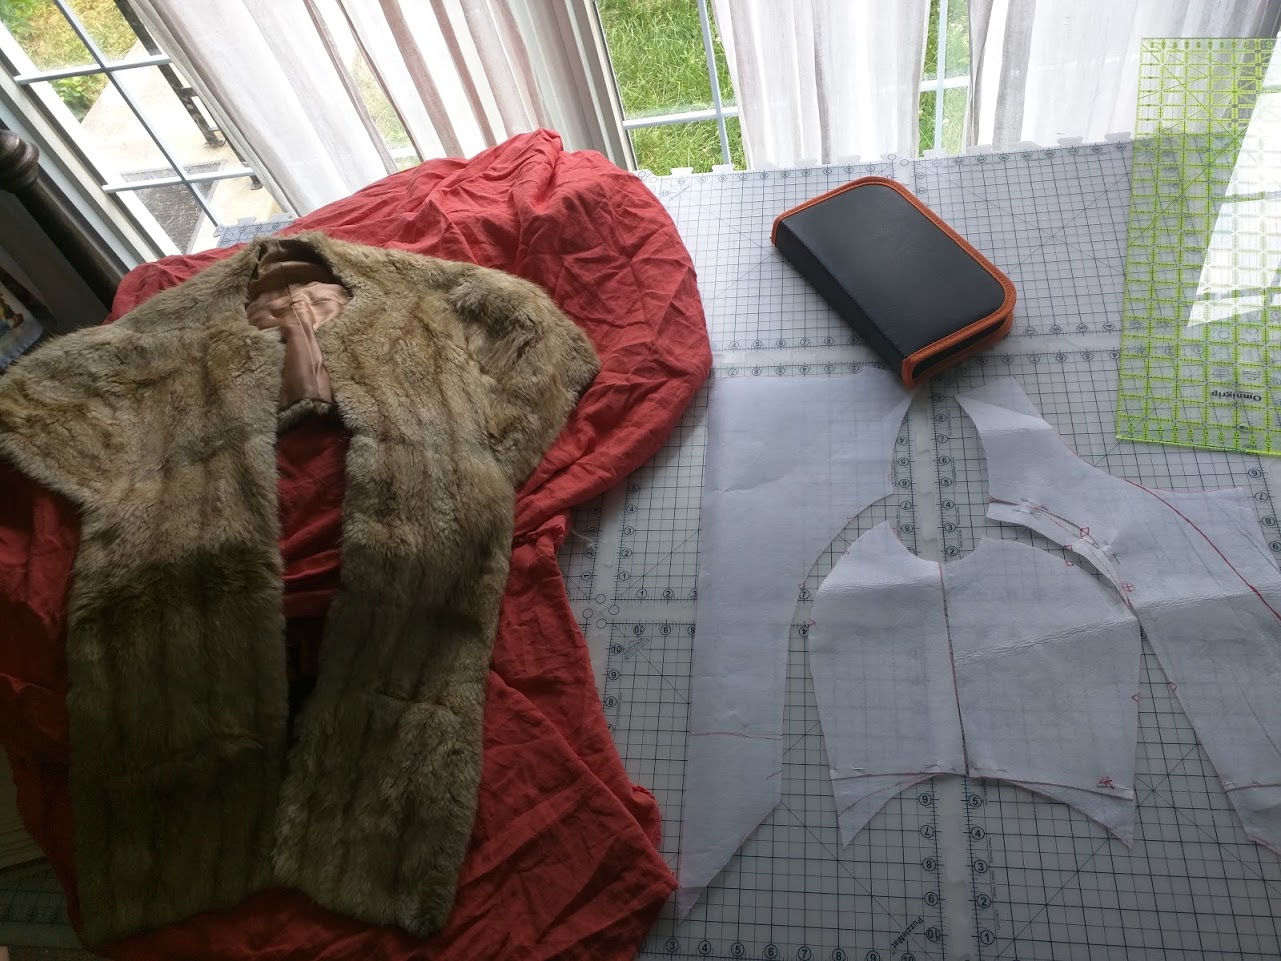
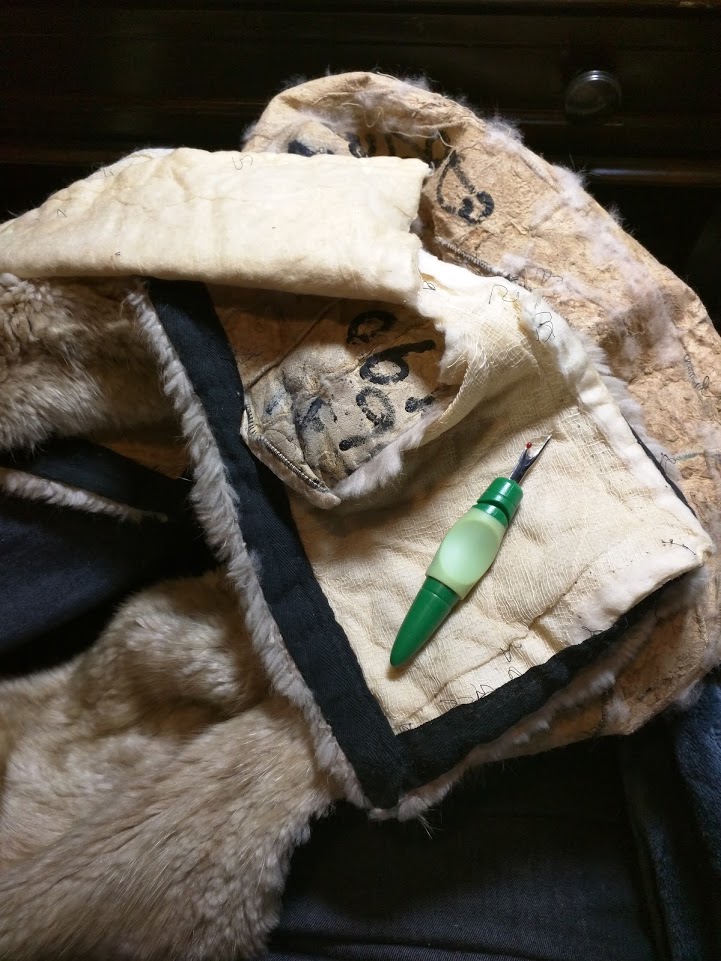
I also had a lovely (real) fur shrug that I was given as a gift almost a decade ago and have never once had out of its box, much less actually worn. Since it was the perfect color for the fur on the dress, it was prime material for re-purposing, and one of the reasons I chose this dress in the first place.
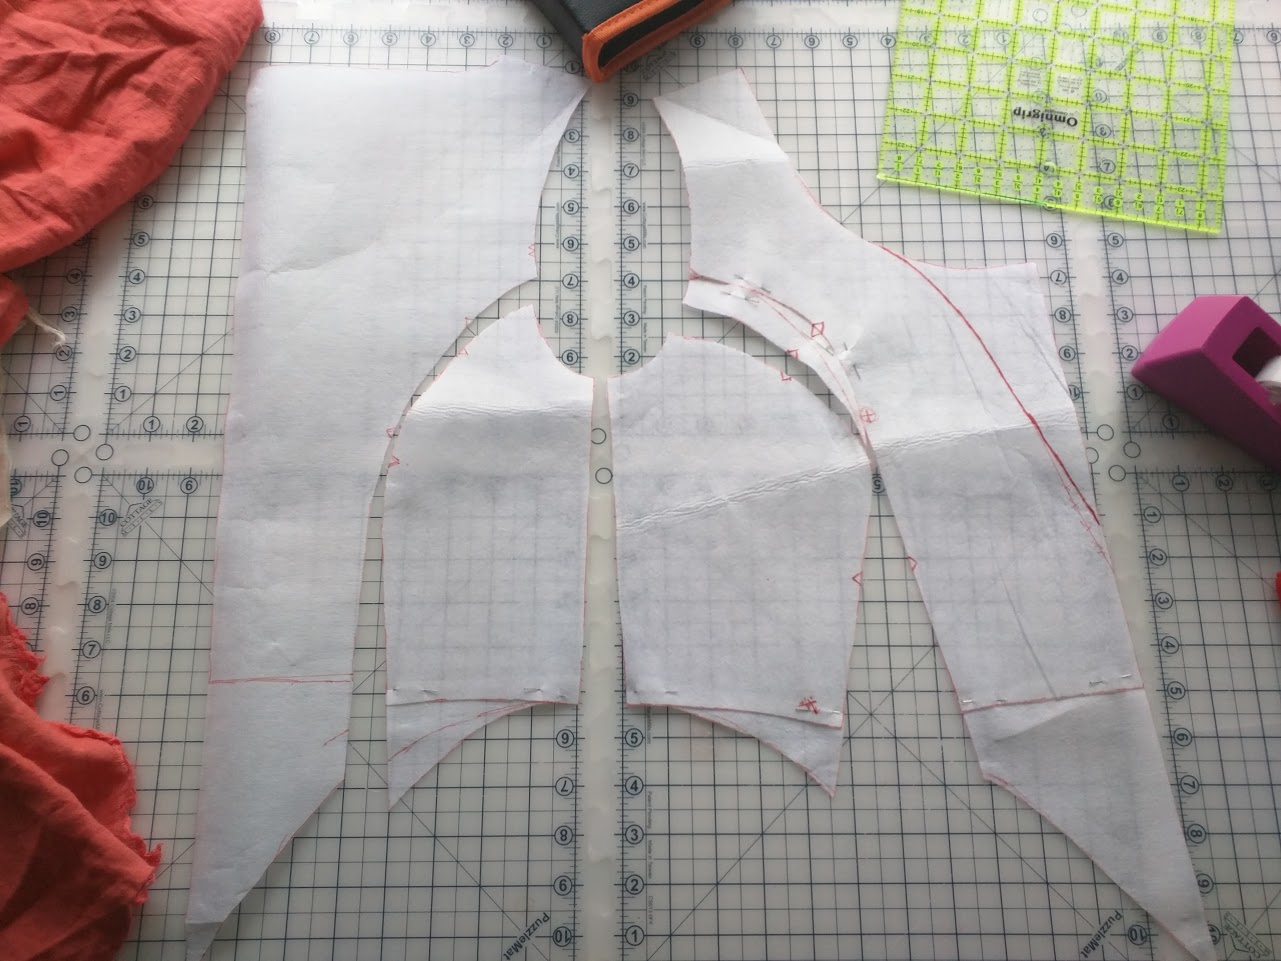
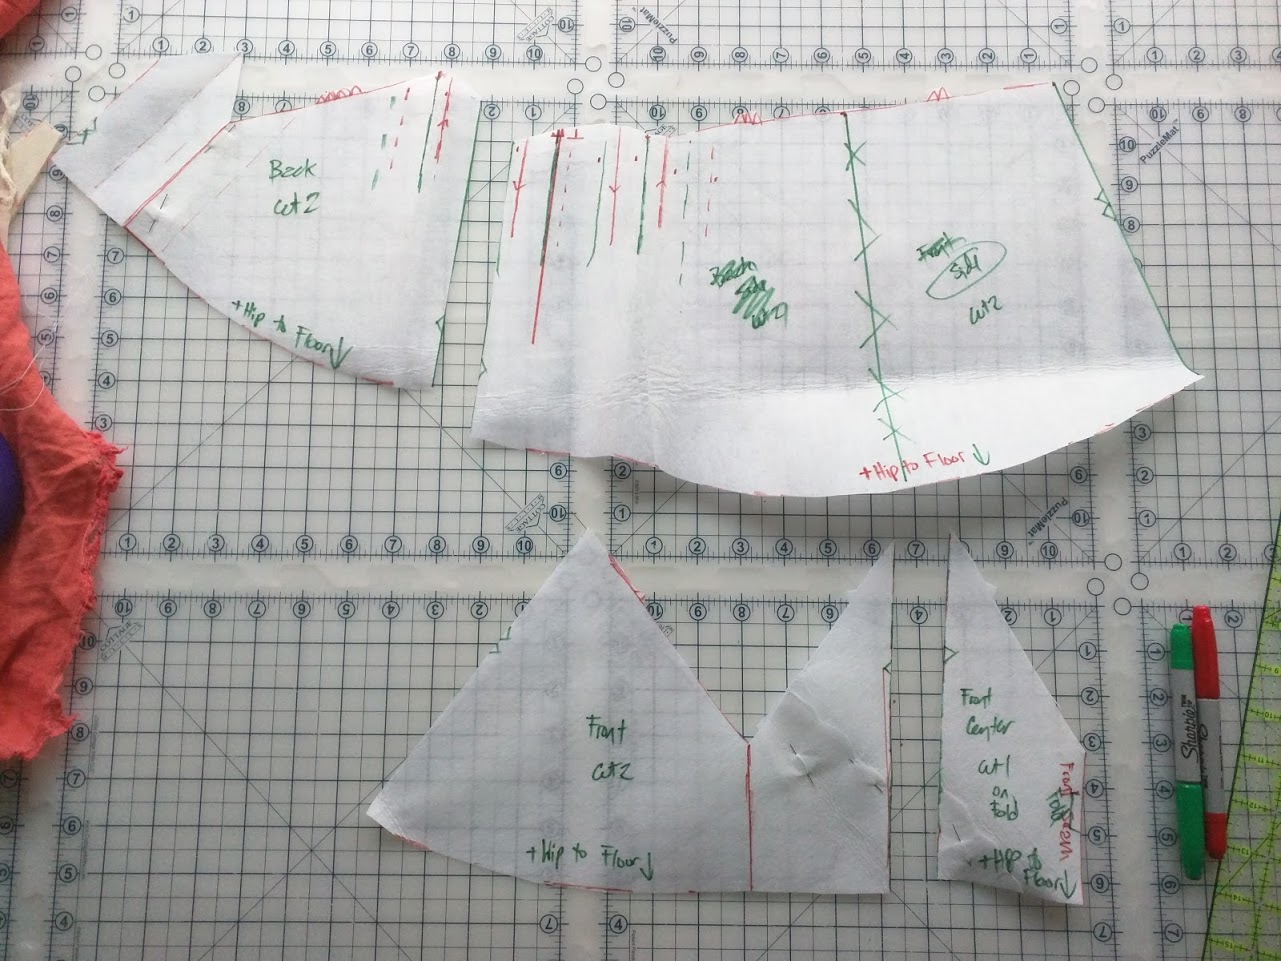
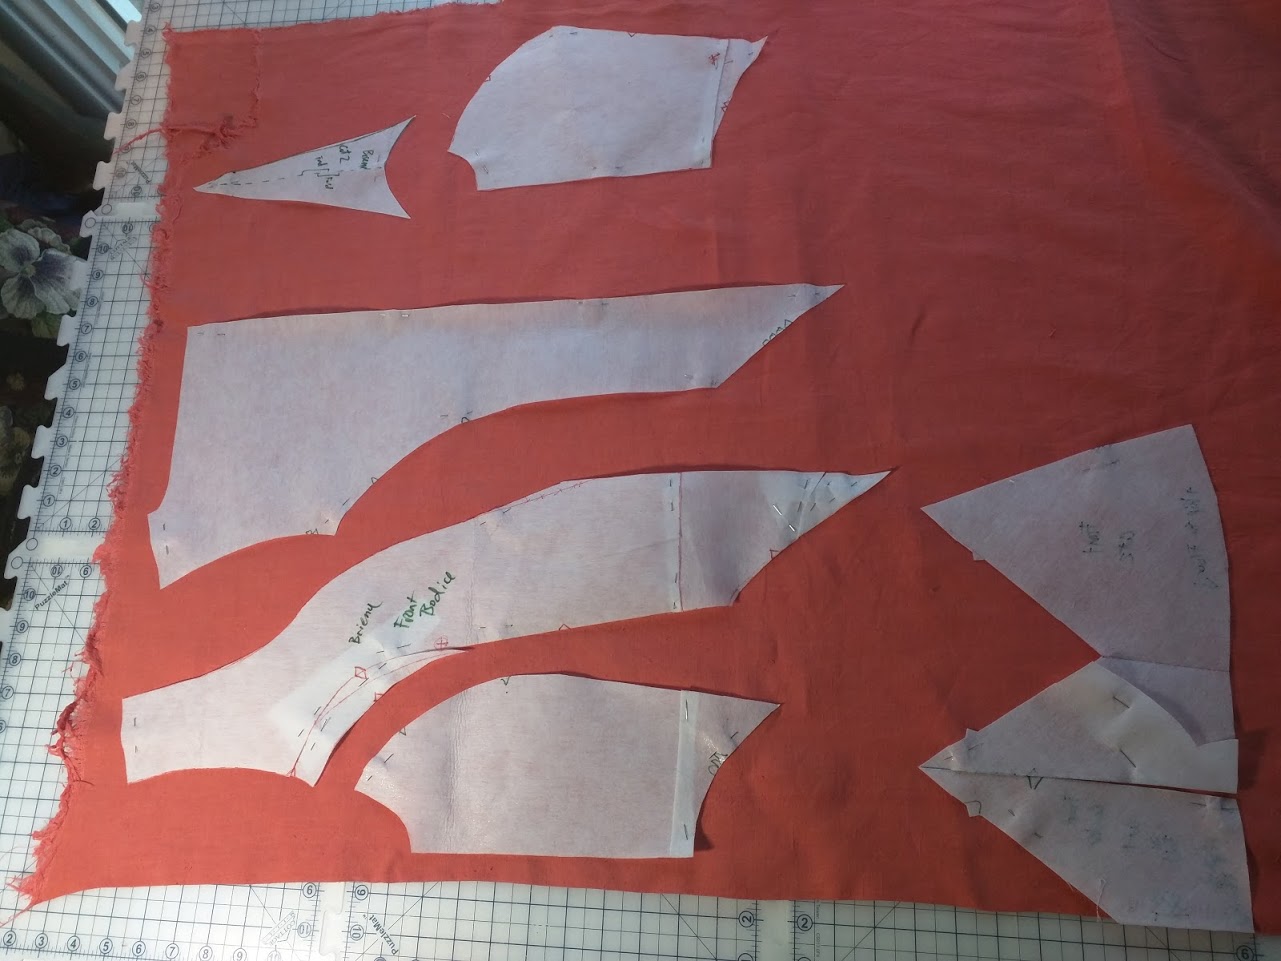
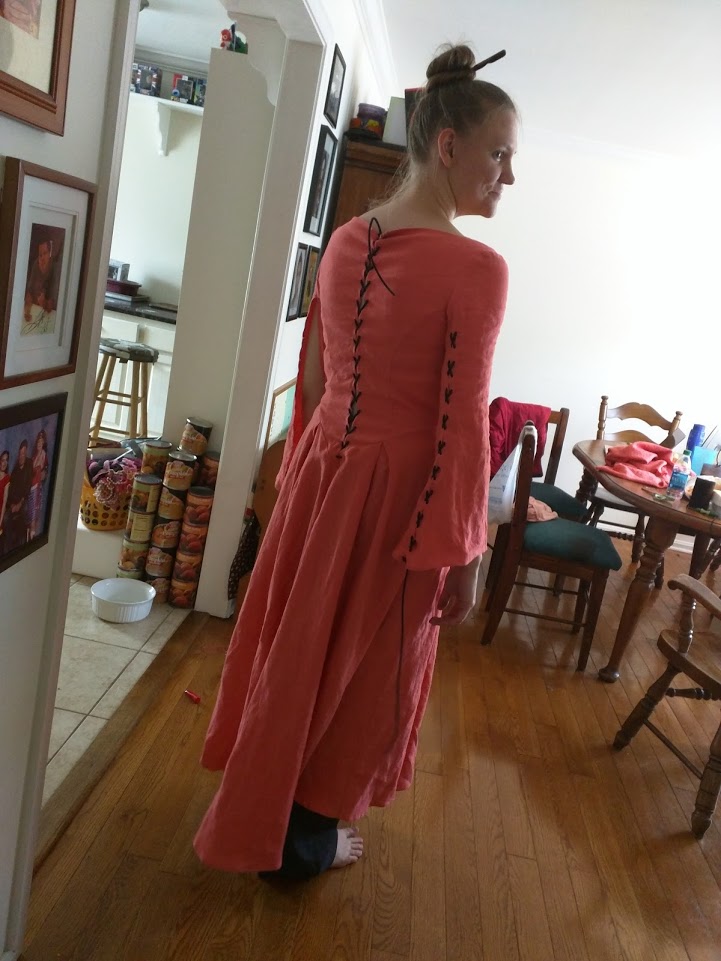
In the past few years I’ve started to really get a grasp on flat patterning and I created this pattern without any commercial patterns as a starting point the way I do when I find one that is appropriate. I work from a well-fitting sloper, which makes it easy to dive into the artistic details of the pattern. In this case it meant adding princess seams, dropping the front and back into the deep points, and adding the pleats to the skirt. I only actually patterned the skirt pieces from natural waist to hip in order to save interfacing (my drafting material of choice) since from the hip it’s just straight lines that can be chalked onto the fabric.
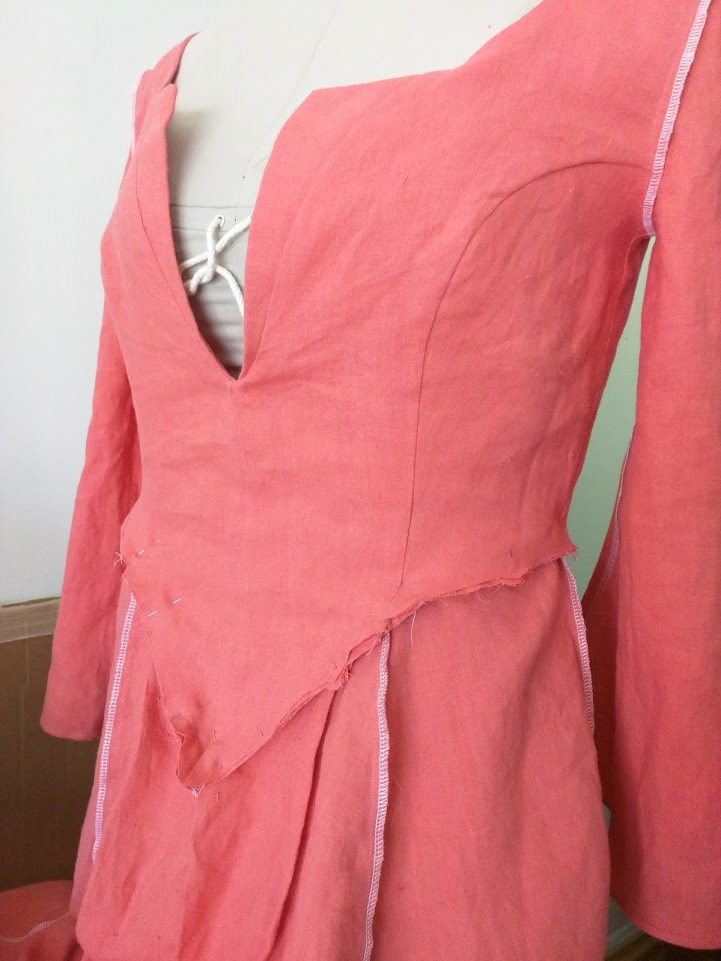
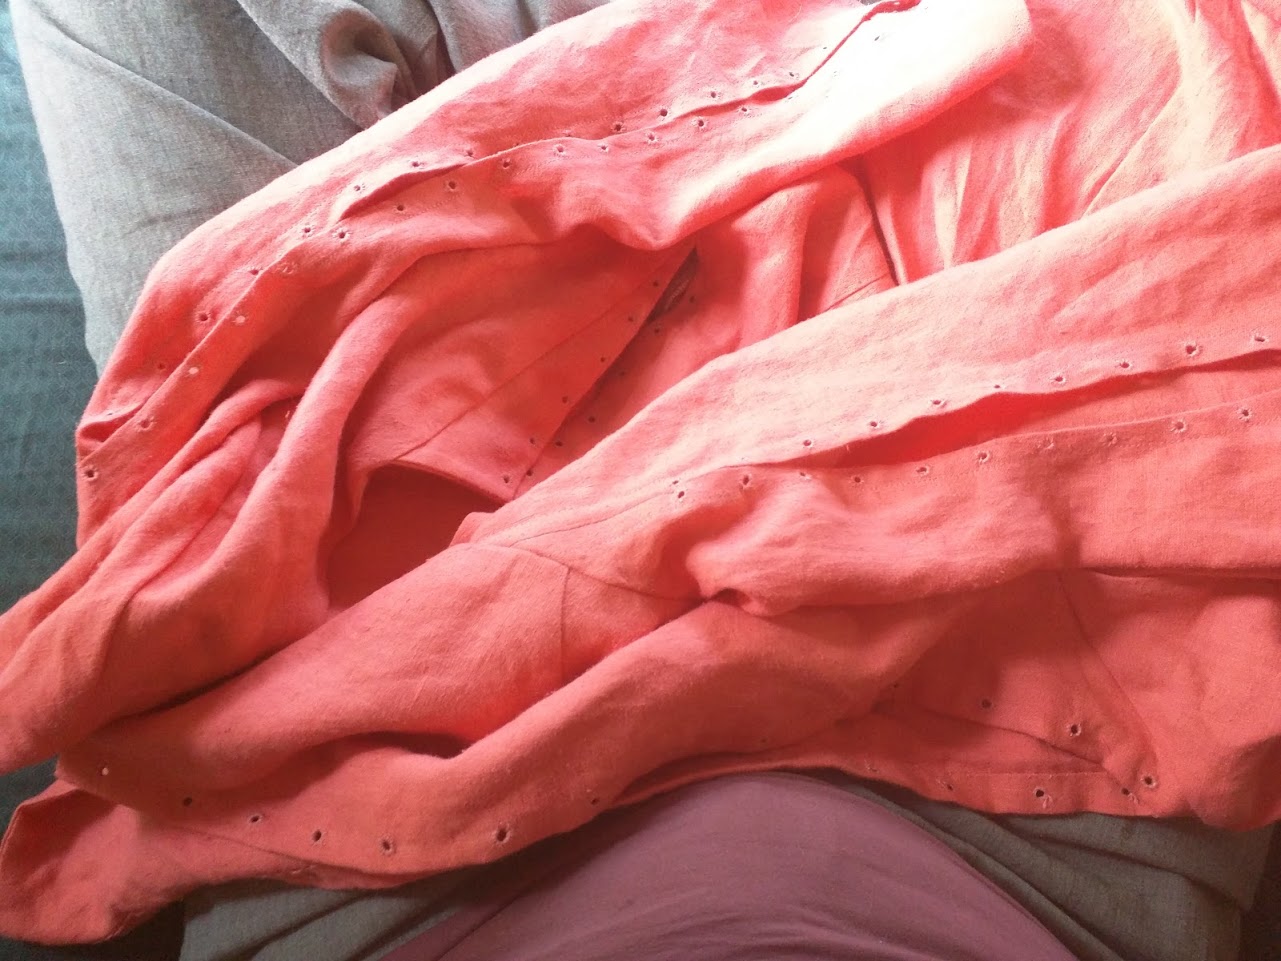
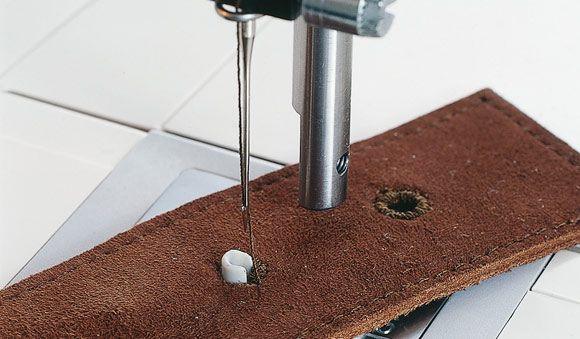
It took a couple days but went together pretty easily. I… may have lost my tape measure and just guesstimated how much to add to the skirt. Whoops. I did wind up using the fabric from the excess hem though so it didn’t get wasted. Bodice is fully lined and the dress is mostly serged… except the blasted eyelets. 114 of them down the back, down the front cleavage, down both sleeves… I was planning on using my eyelet plate and doing them on the machine. For a $10 attachment, it would have saved me a lot of time and finger strain. However, mine is lost somewhere and no one had one in stock. 10 hours later (with kidly interruptions, lunch, etc) I got them done.
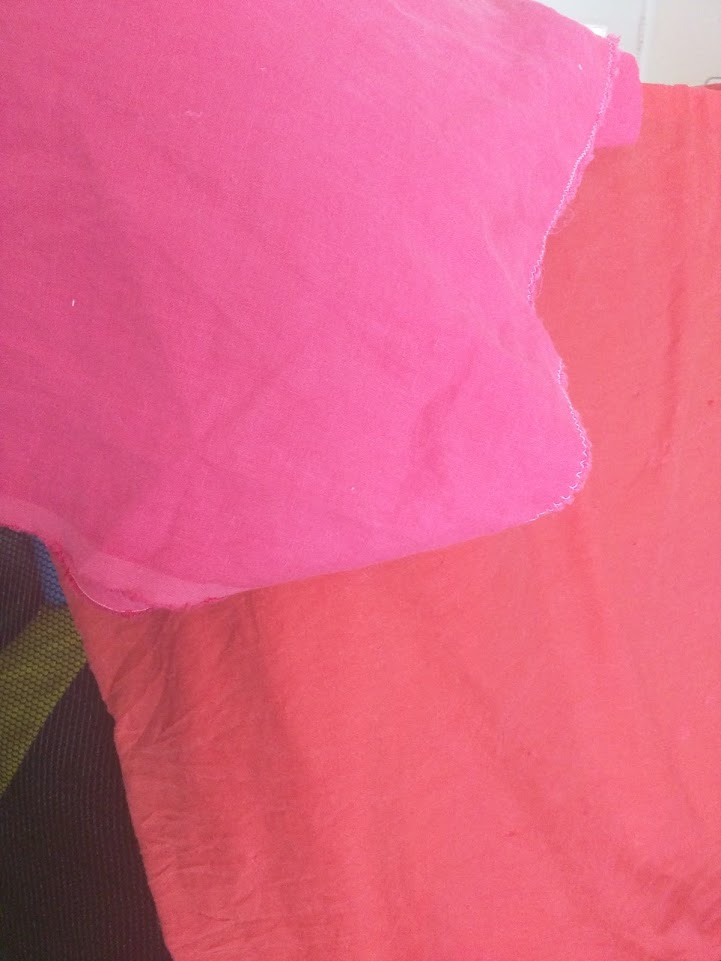
Two days before the photoshoot I drove two hours to a friend who could help me hem the dress, and remembered to insert a modesty panel behind the back laces. That night I overdyed the dress to a pinker shade of pink, and started on the fur trim!
The fur is in fairly delicate condition. I have no idea how old it is and some sections of it were starting to crumble once I got all the lining and padding removed from the shrug. Thankfully, most of it is still in good enough condition to use! I interfaced and lined each piece of trim and then basted it to the dress. All of this took far longer than I wanted it to with two nights working to 4am but I got it done! When I need to launder the dress the trim can easily be removed and then reattached.
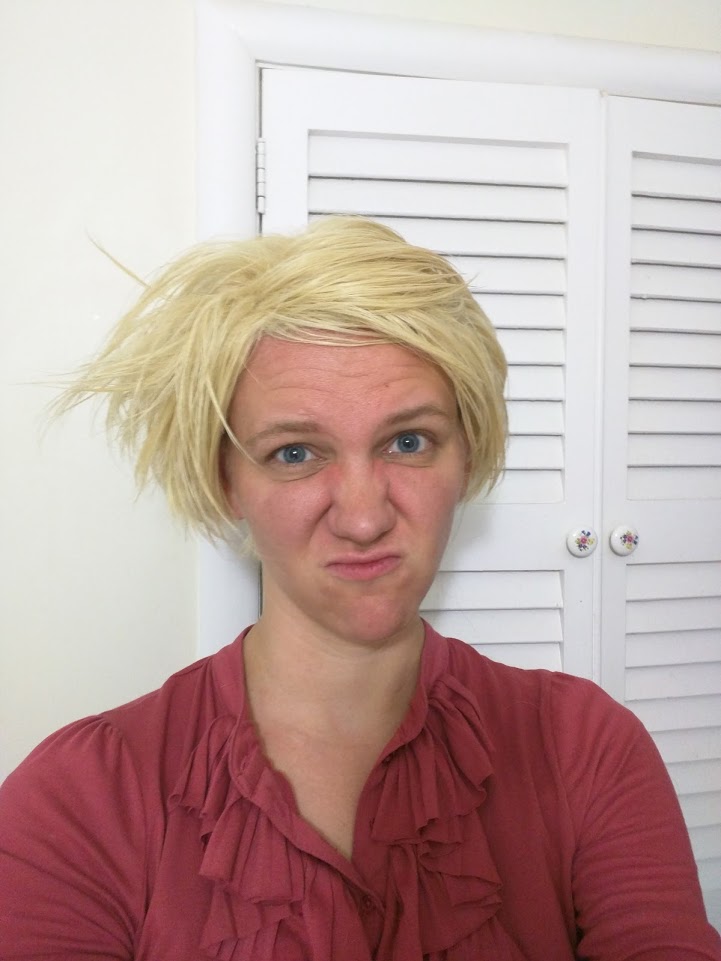
Somewhere in there I found time to style the $10 Amazon wig. It’s not the ideal wig for this dress and it’ll get replaced when I have the money to spend on an Arda Kyle or Cady.
With four hours of sleep before heading out for the photoshoot, I’m pretty happy with it!